I recently sought out an economical way to add a subwoofer to my vintage stereo system. This article will discuss why I decided on a Dayton Audio subwoofer, and why I’m now using a vintage Yamaha receiver instead of my vintage Sansui receiver.
Why a Dayton Audio Subwoofer – “Coloring In the sound”
Over the summer, I found a great deal on a pair of Klipsch KG4 stereo speakers, only a 4 hour round trip away. I was already excited with my purchase – the seller demo’d them thoroughly for me. But nothing prepared me for the significant improvement in sonic quality from my Klipsch R-610F tower speakers.
When connected to the Sansui receiver, the new KG4 speakers bring the mid-range to life with an unexplainable clarity. You have to hear it to believe it. The KG4 speakers have dual 8″ woofers and a horn tweeter on the front, with a 12″ passive radiator on the back. I continue to be blown away by the dynamic range of these speakers. But I wanted just a little more bottom end.
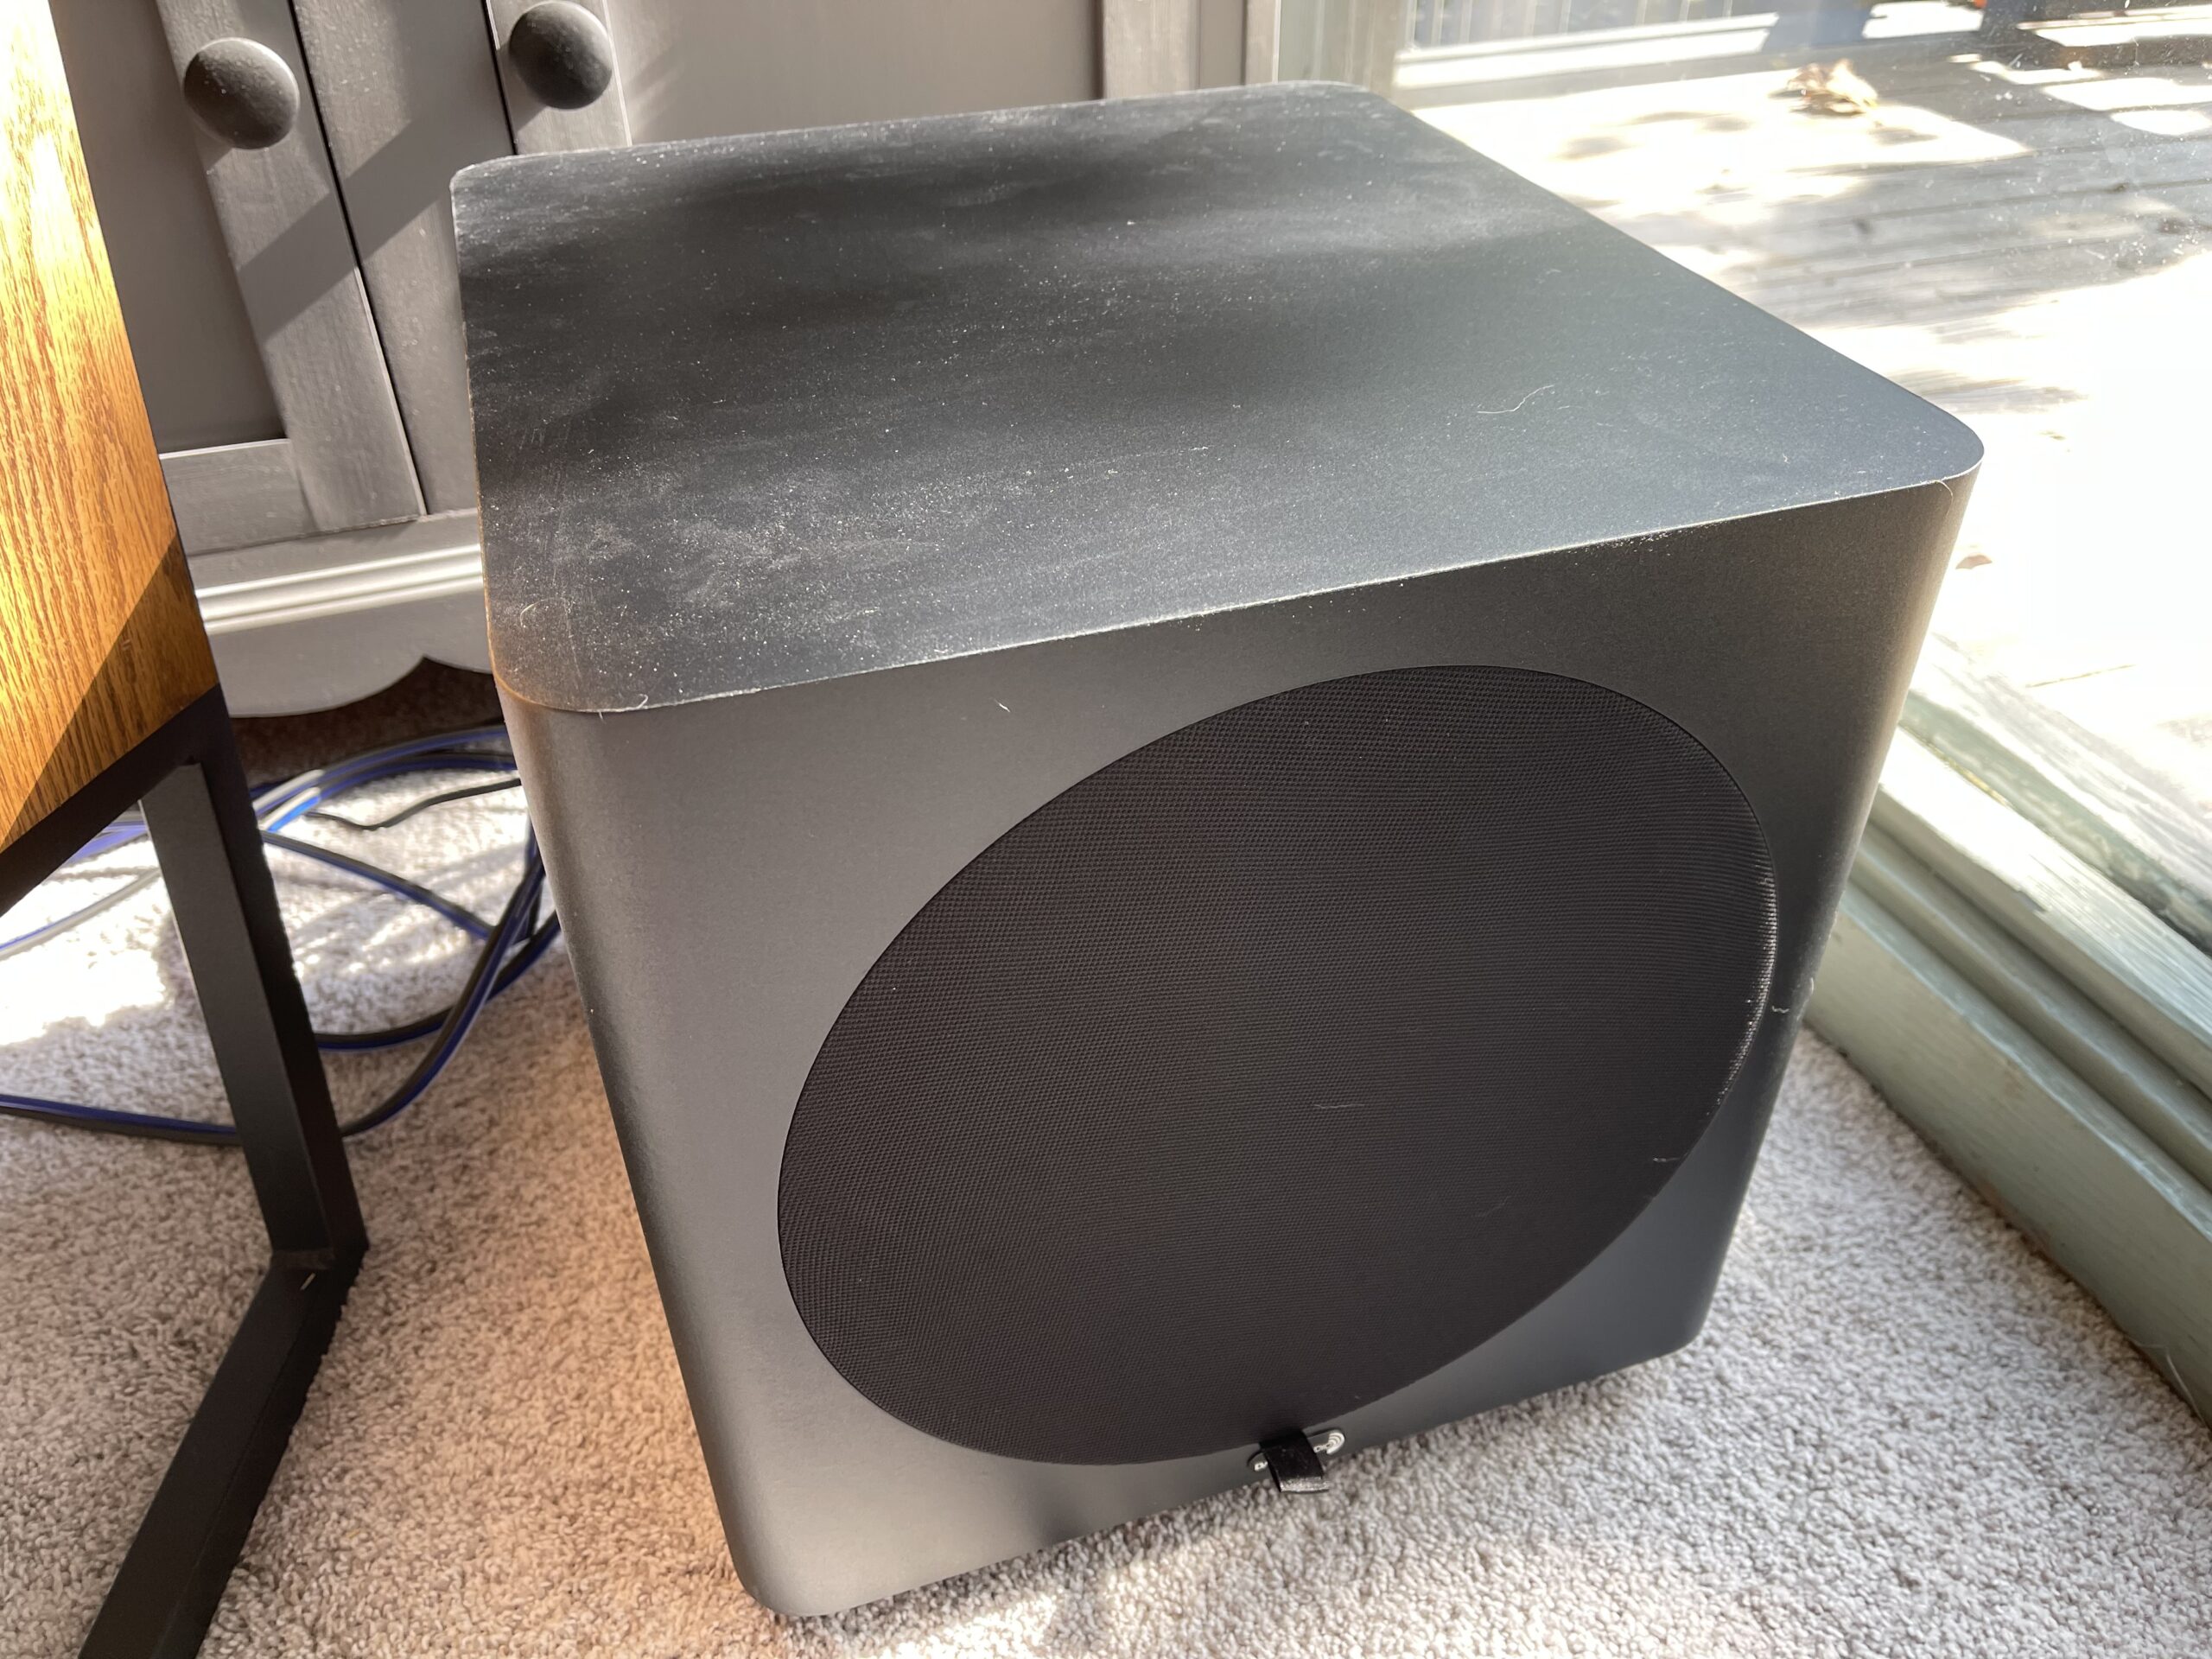
I talked with some friends and coworkers, and perused Reddit, where I found constant high marks for the SVS 1000 Pro, coming in at $600. I wanted to see if a more economical solution existed, even if not quite as high performing. Enter the Dayton Audio SUB-1000 for just under $160.
Since my vintage receivers don’t have a dedicated subwoofer output, I need speaker-level inputs, check. And a 100W power supply? Check. Finally, Phase, Gain, and Crossover adjustments. Check, check, check. Let alone the price. I simply had to try it to know for sure.
SUB-1000 Installation
The Sansui 6060 has been my main service provider since I bought it last December. So when it was time to incorporate the Dayton Audio subwoofer, I pulled all the existing speaker wire and ran new. I opted to use the speaker-level outputs on the SUB-1000 to avoid using both A and B speaker outs on my receiver. Initially, I used all bare wire connections, as seen below (because I’m lazy):

A Blown Amplifier Stage
Prior to installation, I powered off the Sansui, with it making its usual “pop” through the speakers. Upon power up, however, I heard an unusual “pop/fizzle”. Not thinking much of it, I proceeded with sound checks. I got no sound from my Wiim on the Aux input. Then I got no sound on the Phono stage. Finally, no sound on FM, even though the tuning meter was reporting signal. Dang it. After half an hour, and repeated power-offs/power-ons, I admitted defeat. The Sansui was relegated to the workbench.
The Yamaha Receiver Saves the Day
During the summer, in a separate transaction from the speakers, I also purchased a vintage Yamaha receiver (CR-620). I briefly demoed the Yamaha to see what work needs to be done to it. Aside from needing new dial bulbs (a common ailment for these units), I noted that any volume level above 50% causes the speakers to pop. I then set it aside for a winter workbench project.
When suddenly faced with a completely failed Sansui, I field-promoted the Yamaha receiver, hoping for the best. My first concern was there being an issue with the subwoofer’s amplifier. If so, my Yamaha was also at risk, but I proceeded anyway.
At first, I only wired up the SUB-1000 to both channels, then tested. So far so good. Then I wired up the KG4 speakers. Immediate 50% success, but the left channel wasn’t outputting any sound.
It’s here I must mention that the Yamaha receiver had been at child/toddler level. All the knobs and switches had been manipulated by tiny hands. I thought I’d readjusted everything prior to testing, but it took longer than I care to admit to determine the balance knob was cranked hard to the right.
SUB-1000 and Yamaha Receiver Performance
I’ve already mentioned the >50% volume issues, but I didn’t go into detail on the Yamaha’s performance otherwise. In short, the “Natural Sound” of this era of vintage Yamaha receiver is full-range, rich, and beautiful. I’d even put it above the Sansui as far as out-of-the-box sound quality. I have the EQ settings nearly flat, and loudness off. Even with it’s need for servicing, the Yamaha receiver is a fine specimen.
The Dayton Audio subwoofer has been a welcome addition. For my current listening space, I found optimal adjustments to be:
- Phase: 180 degress
- Gain: 40-45%
- Crossover: somewhere in the middle of the 40 Hz to 140 Hz range
These settings work well with the Yamaha at 10%-45% volume, which is honestly sufficient for my current listening space. The bass that is added is a hint or a suggestion and doesn’t overpower the KG4s’ splendid range and performance. The SUB-1000 can do a lot more than I’m asking of it, but is a perfect fit at a perfect price to compliment the rest of my system.
Wiring Update
I still wonder if the bare wire connections may have “crossed the streams” and triggered the amp failure. Also, one of the terminal nuts on my right KG4 speaker is cracked and doesn’t tighten. In an effort to address both concerns, I once again turned to Parts Express:
The banana plugs were a breeze to install, and solve the issue with the broken nut on the KG4 speakers

The pin connectors were easier to install than I though they would be:

After connecting the pin connectors to the terminals of the Yamaha receiver, I was concerned they might still touch and short out another amplifier:

So I added electrical tape on every other pin connector to calm my fears:


Conclusion
While I’m absolutely bummed that the Sansui is offline, I’m happy that I had the Yamaha to rotate in, at least temporarily. I’m equally happy the Yamaha sounds so darn good! The Dayton Audio SUB-1000 adds the nuance that was missing at the low-end, and at a price that I couldn’t pass up! I plan on servicing both receivers this winter, to recover functionality of the Sansui, and to light and improve the functionality of the Yamaha receiver.


One response to “Dayton Audio SUB-1000: Affordable Subwoofer for Vintage Systems”
[…] Dayton Audio SUB-1000: Affordable Subwoofer for Vintage Systems […]